
![]()
How
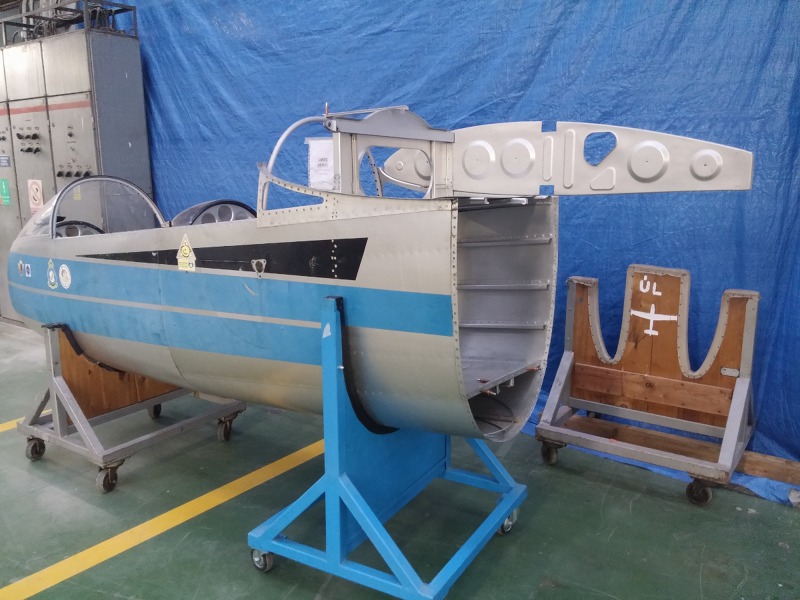
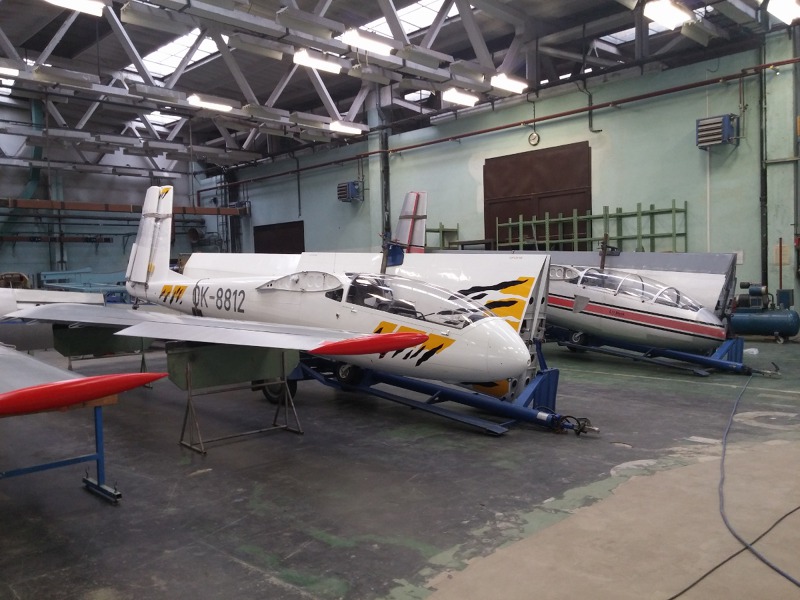
are the L-13 Blanik gliders modified? Check it out by taking a peek with Flying Revue at the backstage of Blanik Aircraft CZ manufacturer. All photos and text on this page are by Jan Dvořák / Flying Revue. Click on photo for larger image |
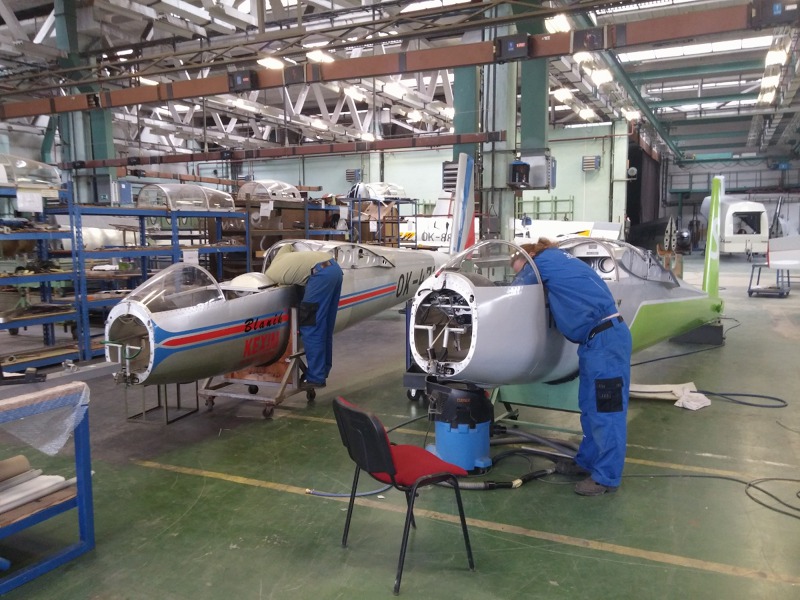 |
| Blanik
glider flyers' hearts were cheered up a year ago. Blanik Limited has
been granted an EASA certificate permitting it to carry out rebuilding
of grounded Blaniks. We went to the manufacturer to see what all and how must be done to get the Blaniks flying again, and how to extend their service life to six thousand flight hours. |
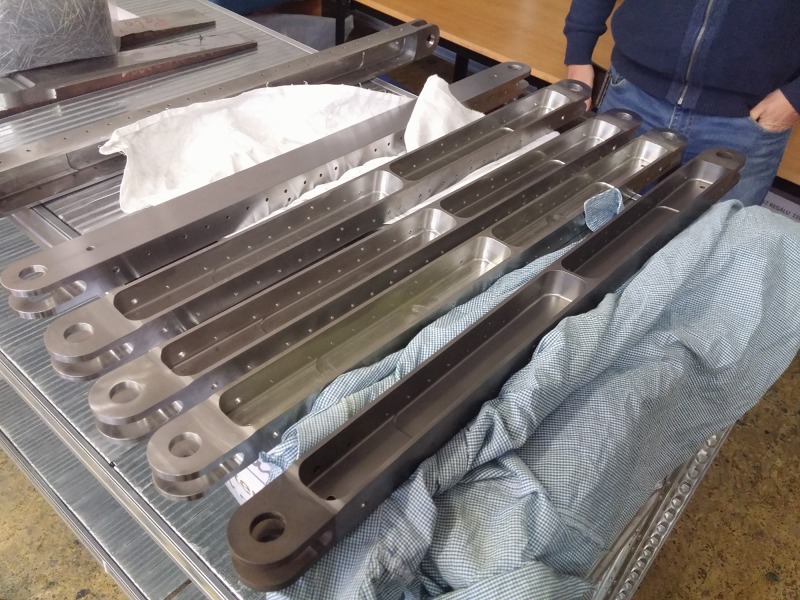 |
Just-produced strengthened lower wing hinges. They are turned from a mono block of material on a CNC machine. One piece takes about three hours to manufacture. |
| At first glance, it's easy - you change the sixth bulkhead, you
reinforce the wing hinges and you can fly again with your Blaník. Is
that really so? "That is not really true," says Václav Křížek of Blaník Aircraft CZ, s.r.o. (a daughter company of Blaník Limited), when he shows us through production halls of the company in Letňany, Prague, where reconstruction of the Blaniks is done. "In principle, it is mainly the reinforcement of the lower hinge of the wing. But before you reach the desired goal, you have to break down the plane almost completely, replace all damaged parts and then reassemble the glider again," he explains. |
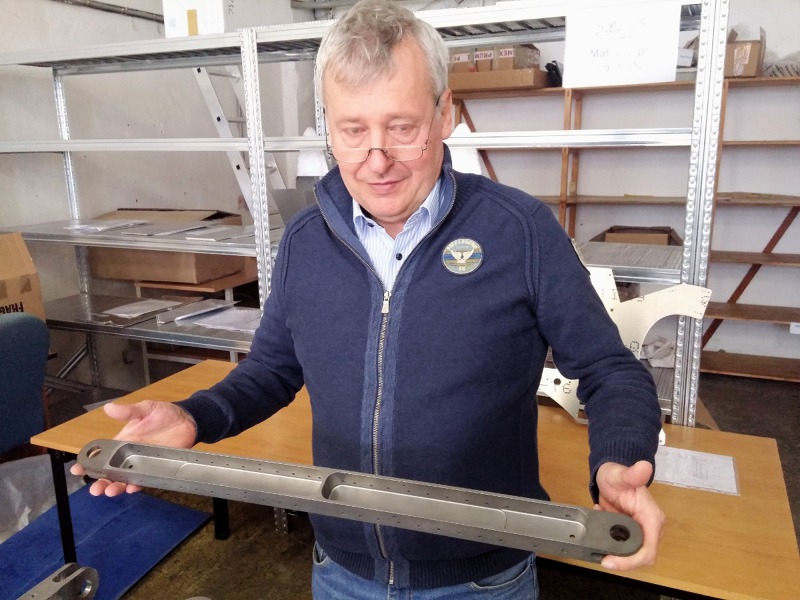 |
Václav Křížek shows the part that allows the Blaniks to return to the sky - reinforced lower hinge of the wing. |
| Phase 1: Initial glider inspection and production of the wing hinge. The main part, which has to be manufactured entirely, is the reinforced lower wing hinge. It is made of monoblock material on new CNC machines and production of one piece takes about three hours. The finished and inspected part is then fitted by workers into the appropriate place on the aircraft. However, the mounting of the hinge is preceded by a relatively long series of other steps. "When the owner transfers the plane, we first go through the documentation of the glider and we check it, "explains Václav Křížek. In this step, a number of hidden defects can be revealed which are necessary to correct during the rebuilding. Their list can be long. (See the Appendix at the end of this article listing some of the defects found.) |
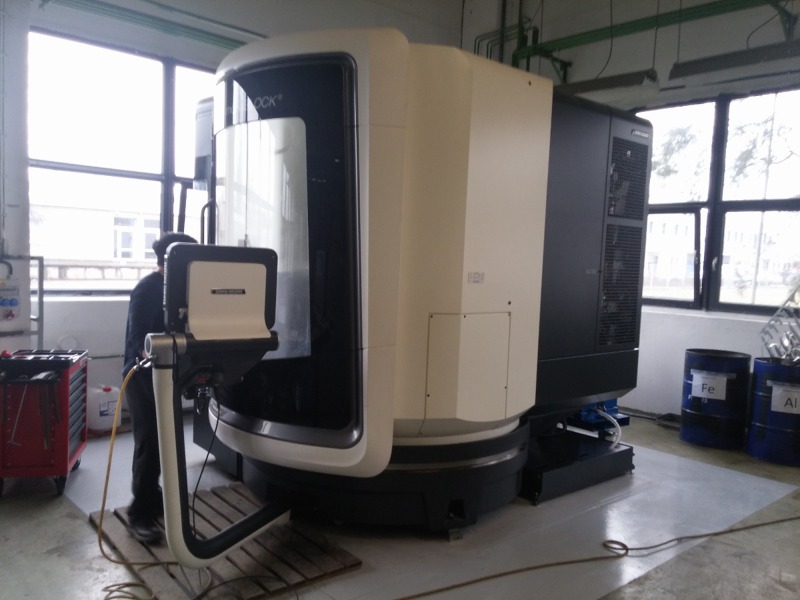 |
The wing hinges are produced on this DMG DMU 65 Monoblock machine. |
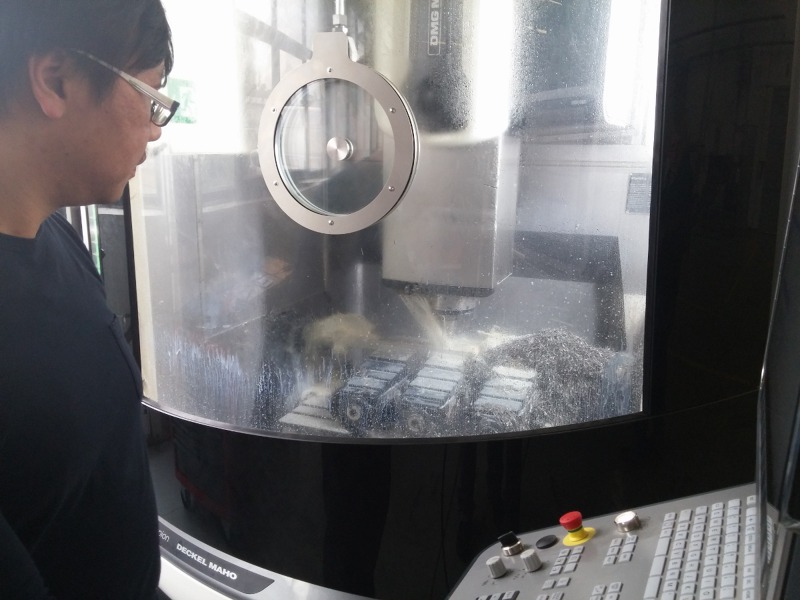 |
The wing hinges are produced on this DMG DMU 65 Monoblock machine. |
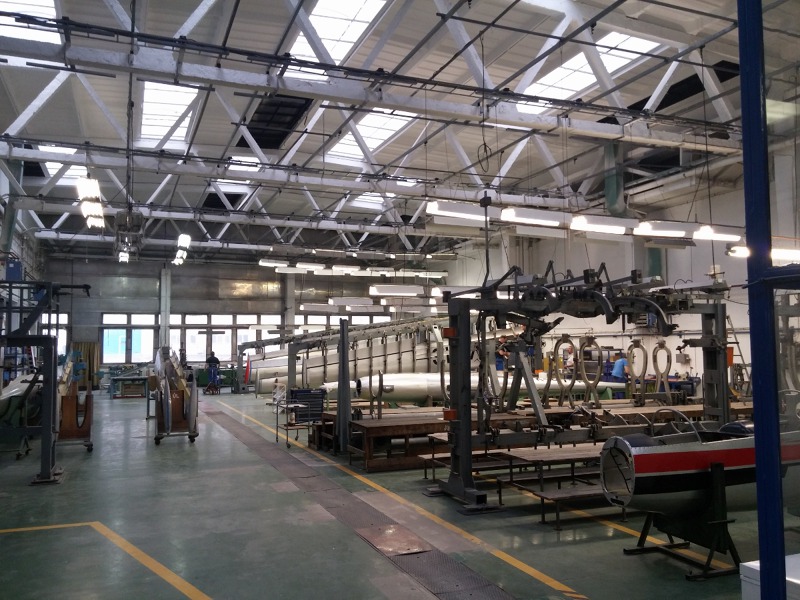 |
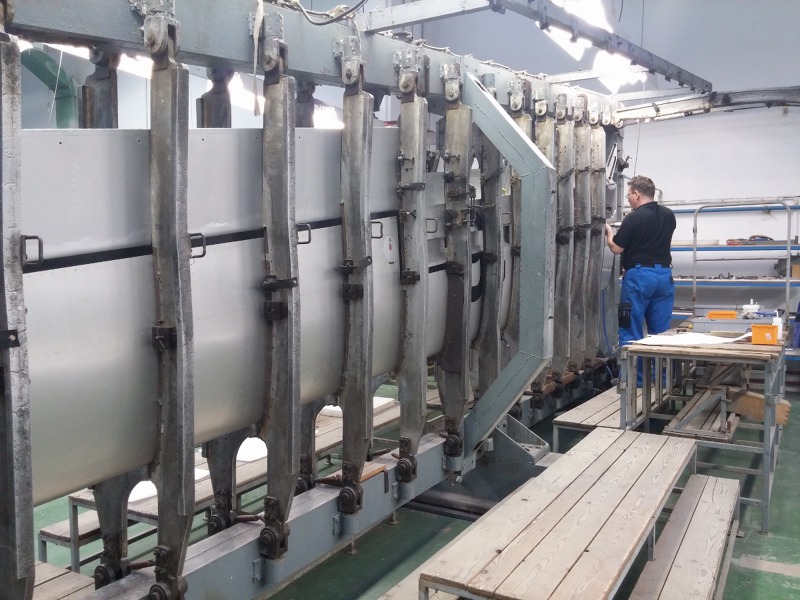
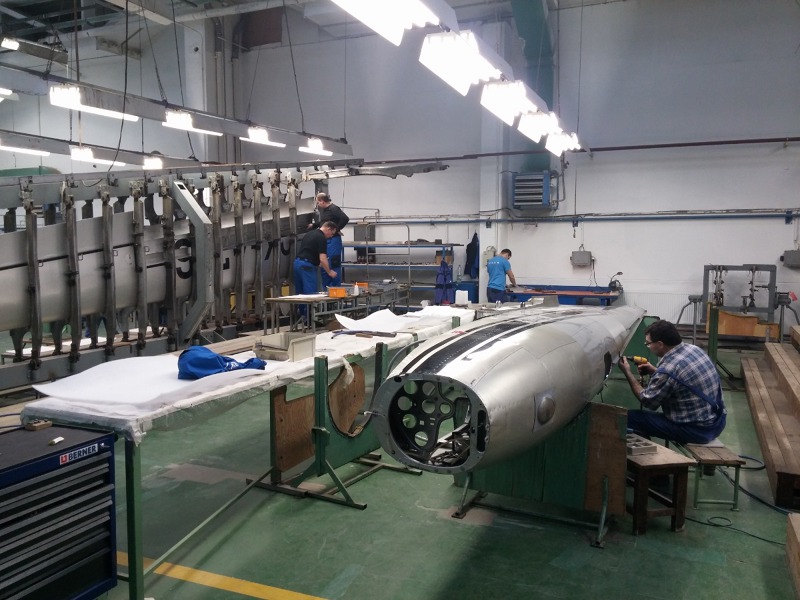
The hall where wings and fuselages are strengthened. |
Phase 2: Disassembly Disassembly follows - the instruments, the equipment, the undercarriage, controls are all taken out. "Then the hull is ready for - as we say - burst." The so-called bursting of the fuselage is nothing but a disassembly of the hull into three parts, while at the central location the sixth bulkhead is replaced, including the new hinge and the fuselage is again re-riveted together in a jig into one unit. |
 |
The wing affixed in the assembly jig. |
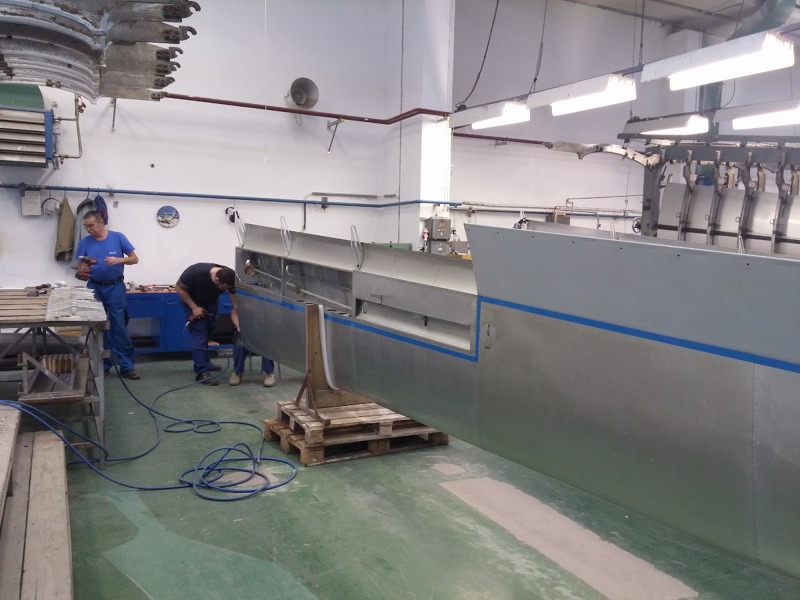
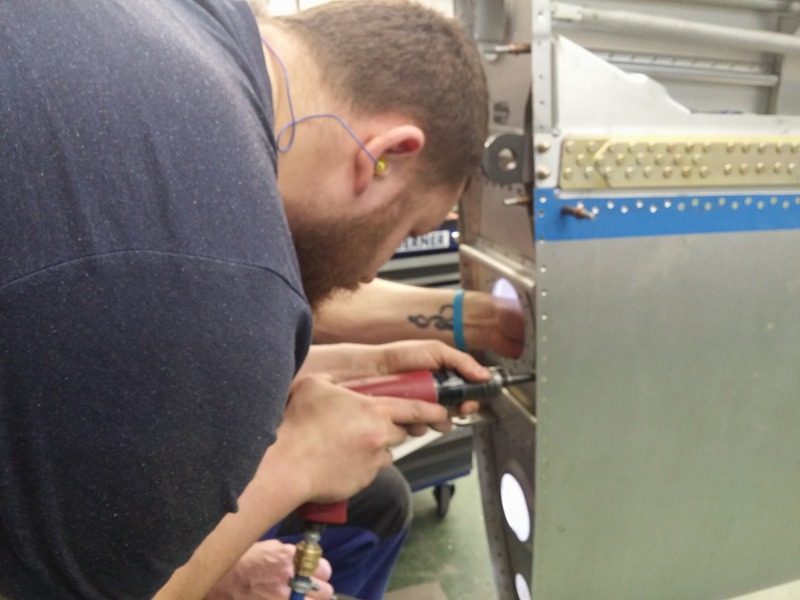
| Phase 3: Sheet metal work In the meantime, the wings are transported to another hall where the sheet metal workers take care of them. They de-rivet the lower wings skins so that new reinforcements can be installed. They check the lower hinge and then remove it. Inspection continues checking the bottom spar cap. "After the boys in the hall evaluate that the spar cap is in a usable condition, the actual reinforcement is performed by replacing old parts with new ones, by drilling together, reaming holes to larger diameters to ensure that the holes are hundred percent circular and that there are no cracks. Also the spar caps are inspected for cracks. If any are defective, they have to be replaced with new ones." |
 |
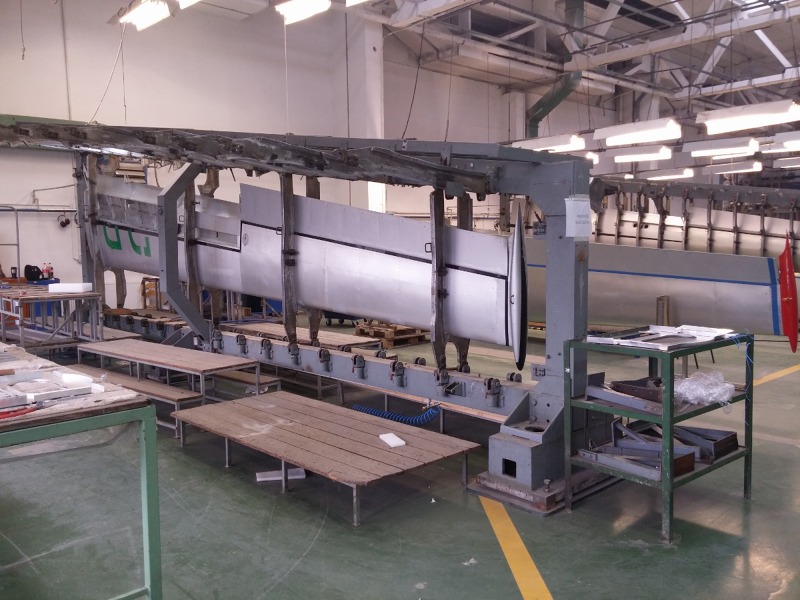
At this workplace wings are strengthened. |
 |
At this workplace wings are strengthened. |
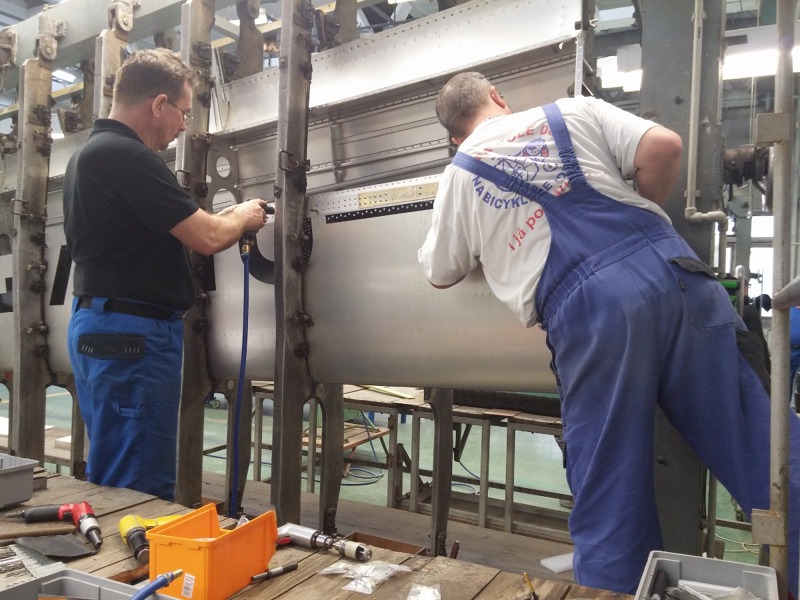 |
Wing rivetting. |
 |
Wing rivetting. |
 |
Wing rivetting. |
 |
Separated fuselage is awaiting re-assembly. |
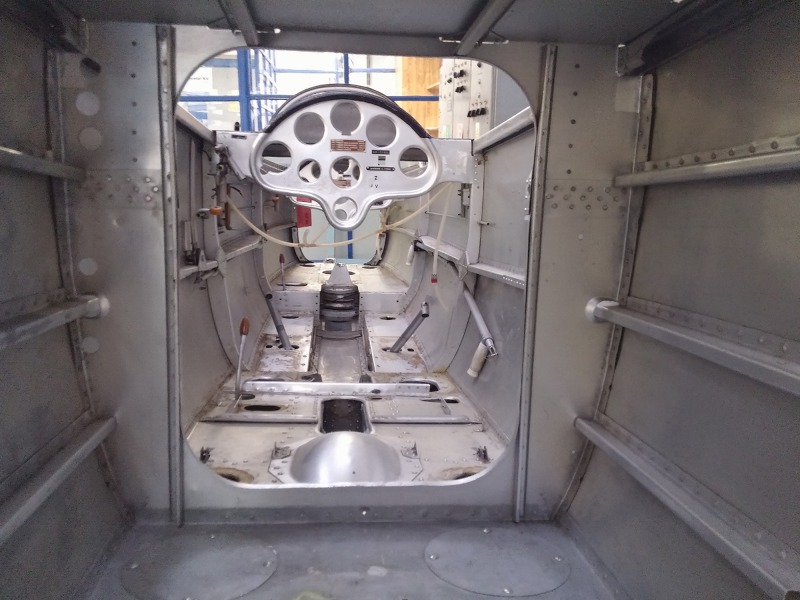 |
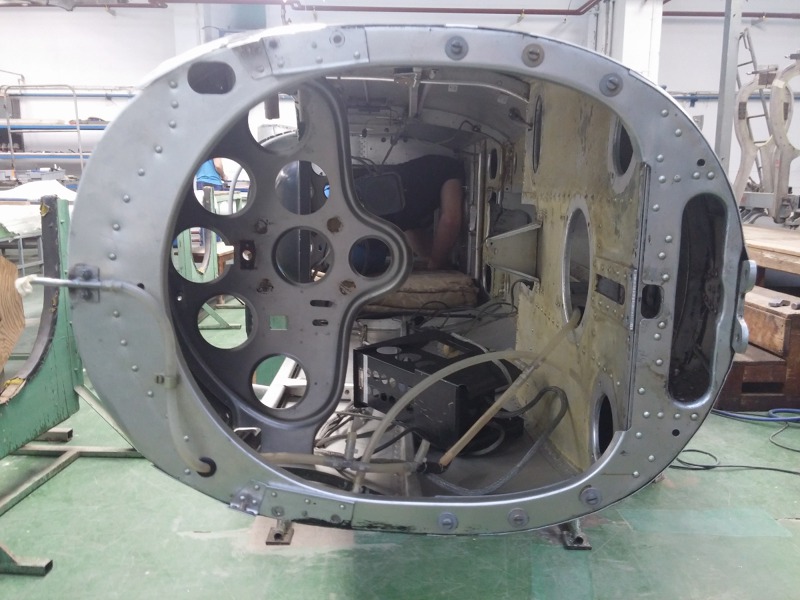
View through the fuselage before re-assembly. |
 |
Separated fuselage is awaiting re-assembly. |
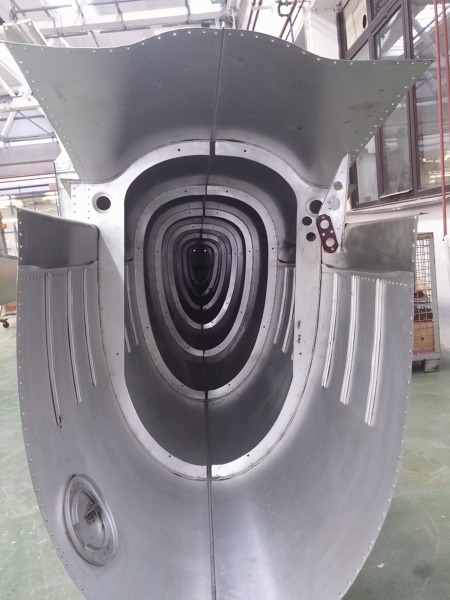 |
View through the fuselage before re-assembly. |
 |
Here is where the fuselage is being completed after the sixth bulkhead is installed. |
| |
Here is where the fuselage is being completed after the sixth bulkhead is installed. |
 |
Fuselage assembly. |
 |
Fuselage assembly. |
 |
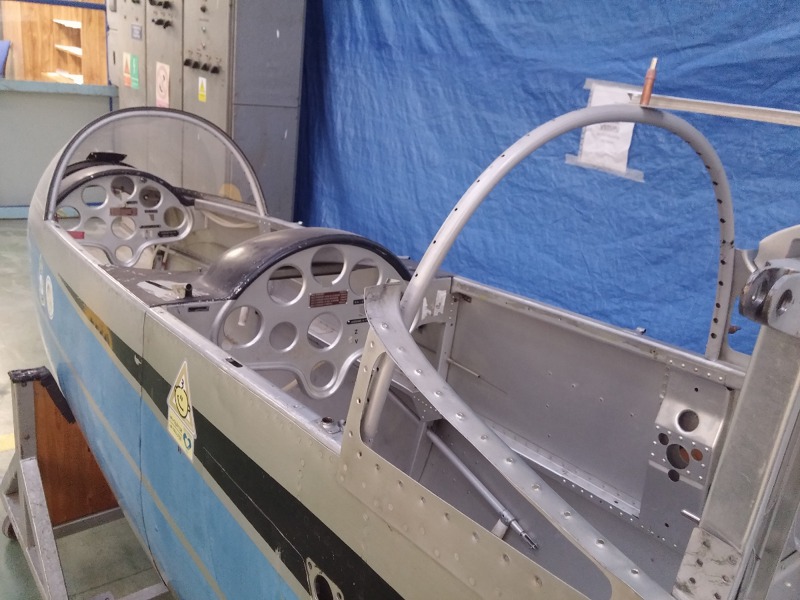
Final assembly. |
|
Final assembly. |
 |
Final assembly. |
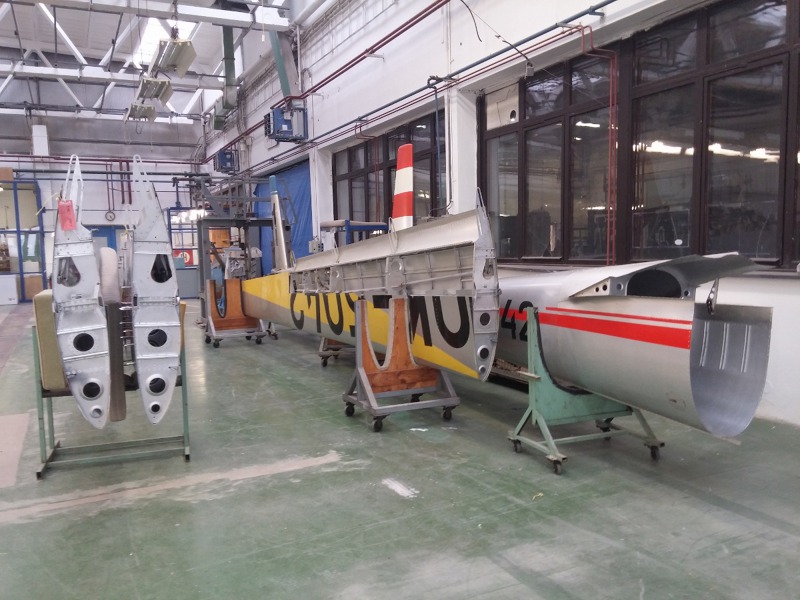 |
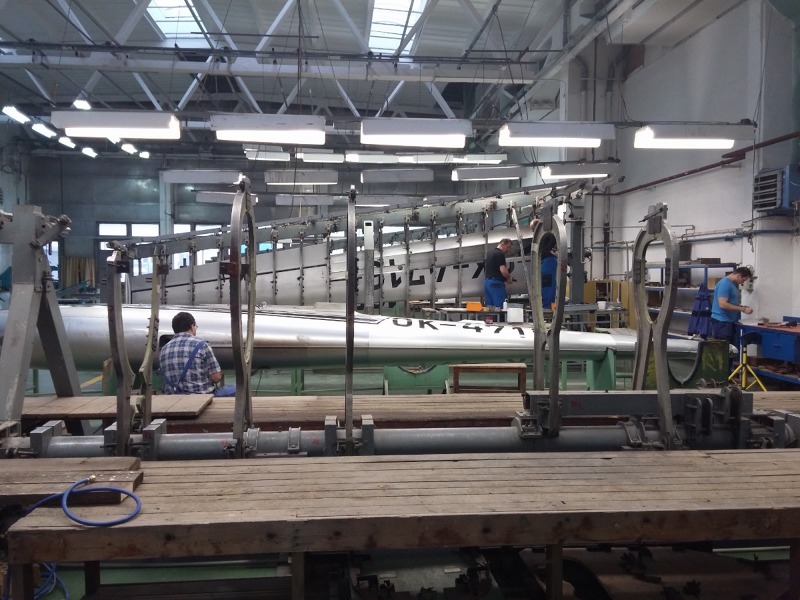
In the final assembly hall. |
 |
In the final assembly hall. |
 |
In the final assembly hall. |
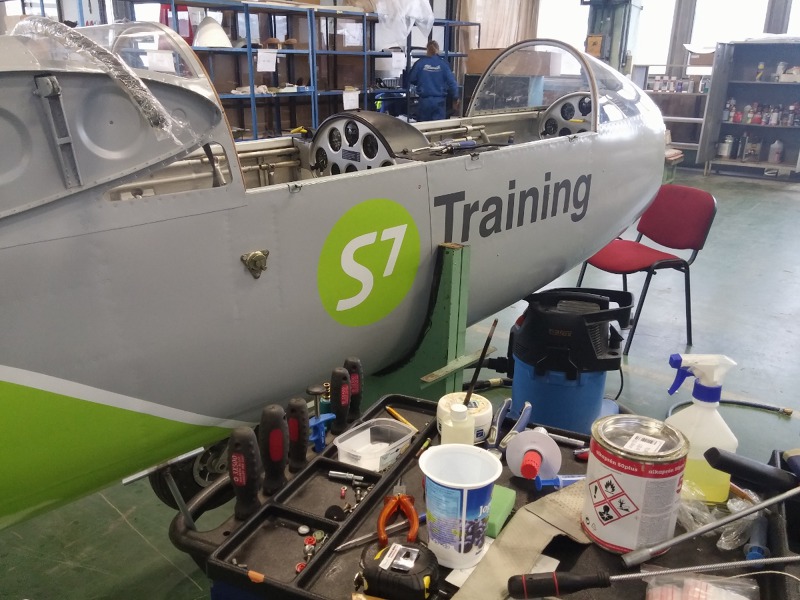
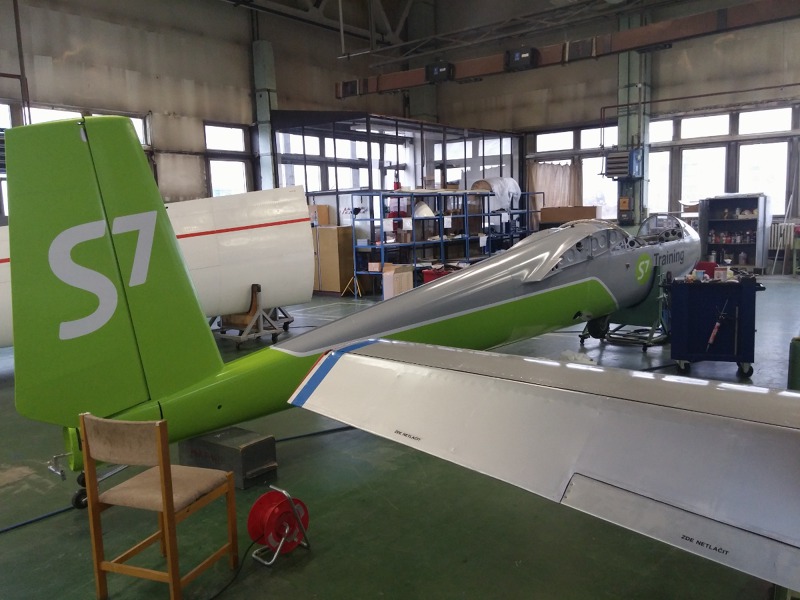
| Phases 4 and 5: Final assembly and test flight When the wing and hull repair are completed, the aircraft moves to the final assembly. This may be preceded by repainting if the customer so desires. Here's where all equipment is installed, including controls and instruments. After inspection, the glider is test flown. If everything is fine, the Blanik can go back to his owner and rise back to the skies. "Well, that's it," laughs Václav Křížek when he shows us an almost finished machine for a Russian customer, S7. "Reinforcement and all rebuilding means extending the life of the glider to 6,000 hours," concludes Václav Křížek the tour through the various phases of the reconstruction of Blanik. |
| The rebuilding is also desired in the U.S. Interest in rebuilding is considerable. At one point they work in Letňany on roughly eight contracts. This year they would like to rebuild and thus prolong lifetime of approximately forty L-13 Blaniks. Blaniks reconstructions are requested of Blanik Aircraft also in the US where there are several hundred of these aircraft. "Partners are already pushing us to have a project started there. But that is not possible before the documentation is completed and people are trained, " says Křížek. In addition, according to him, many Blaniks in the field have historically undergone a number of modifications and substandard airframe interventions which may be discovered during the rebuilding process. "We will deal with them, we have Blanik blood running in our veins. But for freshly trained people that can be a problem, " explains Václav Křížek. |
= = = = = = APPENDIX = = = = = = Selection of defects found during entry inspections: Torn and overlapped lower fuselage skin covers High corrosion of the front skid and lower fuselage Deformed wing root rib and skin cover trailing edge in the area of the hull / wing transition (Left side, area 5-6 bulkhead) The front and back of the skins are not fastened in the area of the 6th partition. Skins under the patches have cracks and their ends are not stop-drilled (the area of the longerons at the leading edge of the stabilizer) Left fuselage skin deformation at the area of fifth bulkhead and deformation of the fifth bulkhead along the longeron Torn left side of the vertical stabilizer bottom in the area of the stabilizer mount Torn 14th fuselage bulkhead, crack continues even after stop drilling Missing bearing in the front tailwheel mount Deeply worn rear fuselage skin in the area of bottom rudder bearing Deformation of the 15th fuselage bulkhead from the left and right sides Damaged / broken rivet heads at the fuselage 14th partition and keel joint Broken rubber grommets in the left and right sides of the fuselage at bulkheads 14 - 15 Damaged / broken out lock nut flanges for the bolt at the top rudder hinge Dented bottom stabilizer skin (4 mm damage depth, 200x150 mm area, oil canning) Wing tip dented in the middle Fallen apart rubber grommet on the inner wing tip rib Torn lower elevator cloth on the outer hinge Lower skin at rear mount of the right stabilizer is missing Torn seal on the rear cockpit cover Delaminated seal on the rear cockpit cover Damaged fuselage skin in the area of rear opening for airplane transport Deformation of the rear cover (all over the surface) Cracked reinforcements of the wing root ribs in the upper hinge area Deformation of the wing root trailing edge and flaps supports Deformed trailing edge of the wing tip spindle Peeling cloth covers at the top hinges of the rudder and at the outer ribs of right and left elevators Torn hem of the leading edge of the 5th rib Torn hem of the hole in the rear wing spar at the 19th rib Damaged / cut up edge of wing flap guides beyond 13th + 19th rib Unaligned access lids in wing skins Longitudinal dents on the wings skins in the area of no. 1-2 ribs, no. 9 ribs, and no, 13 ribs at air brakes Sliced groove cuts (0.08 mm) in the air brake control shaft from the shaft guides |
| English translation by BLANIK AMERICA, INC. / Article credit: Jan Dvořák, Flying Revue / 170623 |